It’s finally here! Planting day at Shirley’s has arrived in Part 3 of our Step by Step with Wave: Summer Series. We’ve got all our Wave Petunias, spectacular companion plants and soil amendments ready to go. By adding the mushroom compost mixed in with some potting soil, which we purchased in Part 2, this will help retain the moisture her plants need for strong roots and to keep growing all summer long.
A few helpful tips for the first-time gardener or seasoned pro:
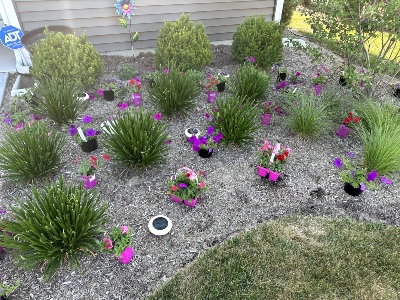
1. Plan out the space – Once you’ve decided where your plants are going, you’ll want to arrange your plants in your garden by just setting them in place on top of the ground. Take a photo or two for reference.
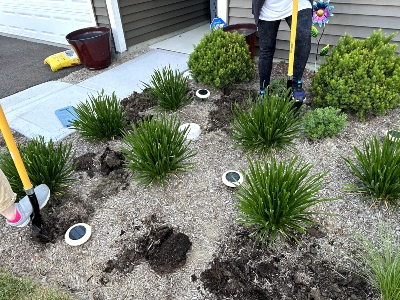
2. Dig the holes – When you remove each plant, mark each place where a hole should be by making a little notch in the ground with your shovel. Then after all the plants have been moved, start digging. The holes for your Wave Petunias should be about 6 inches wide by 6 inches deep (15 cm x 15 cm). Space your plants about 12 inches (30 cm) apart.
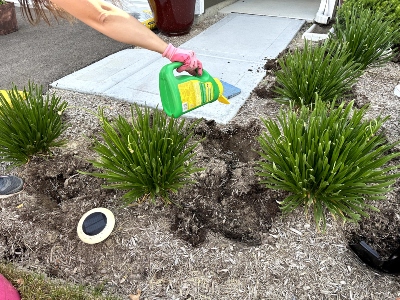
3. Add fertiliser – We added a few shakes of fertiliser granules to the newly dug holes. This provides the plants with that helpful boost to grow and thrive in the ground. (Be sure to follow the dosage on the label).
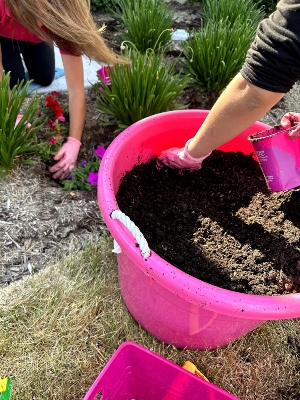
4. Mix compost and potting soil – If your soil is super dry and most likely clay, mixing in mushroom compost and soil is a good idea. We combined everything in a big pink bucket, but any large container will do, adding some of Shirley’s original soil, as well. Give it a good mix with your shovel. This may take a couple of rounds. Then we distributed and filled each hole with the mixture. This is a great time to re-use your Wave pink pots since they’re the perfect size for scooping!
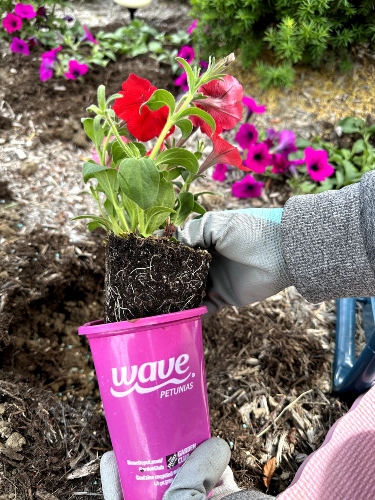
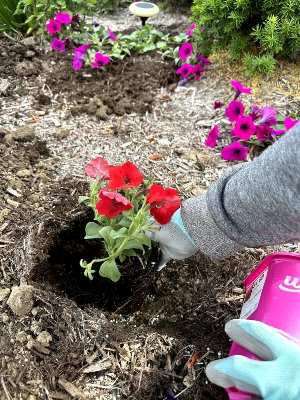
5. Plant your Petunias – Take another look at your reference photos. Then place your plants in each of the holes according to your amazing arrangement. When you remove each plant from its plastic pot, be sure to place it in the ground all the way up to the soil line. Pack it in nicely.
6. Clean up – Clean up your tools and pick up any empty containers around your garden.
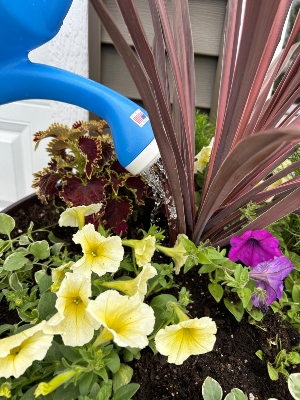
7. Add water – Use a hose or watering can to give your newly planted Wave Petunias a good amount of water, maybe counting to 10 for each one.
8. Stand back and enjoy the view!

All-in-all, our team dug and planted 21 holes for Easy Wave South Beach Mix (featuring Coral, Red and Violet), and 11 holes for Wave Purple Classic, for a total of 32 plants! Needless to say, it was a colourful success and Shirley couldn’t be happier.
See below for the full video. And watch all the way to the end when Katie presents Shirley with a special surprise! Stay tuned for the next blog in this Summer Series when we tackle any obstacles that Shirley has encountered in her new flower garden.